

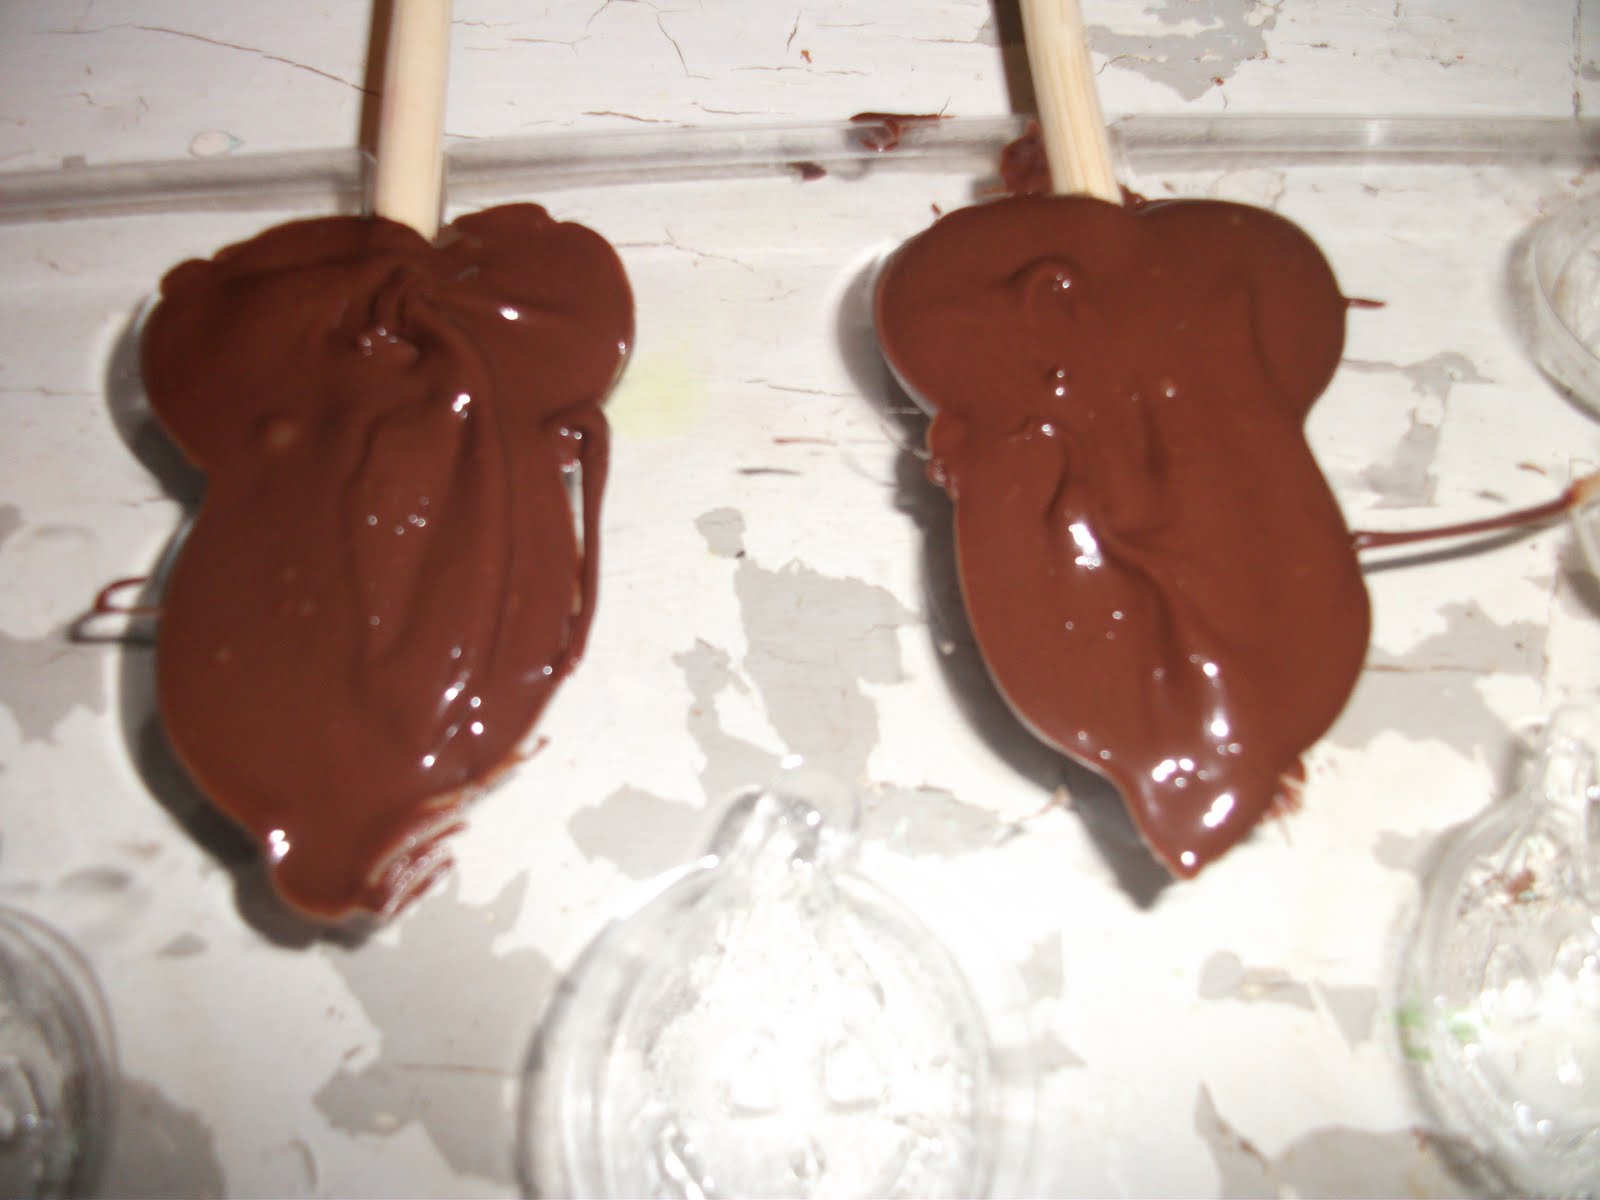
Aren't these little guys cute? And delicious looking?
They are also super-easy to make, and if you make your own Halloween treats, you have more control over what you're putting in your body. Because let's face it - candy isn't good for you. But it doesn't have to be a soup of chemicals.
For example, that Halloween staple, candy corn, has these ingredients:
Sugar, Corn Syrup, Confectioner's Glaze, Salt, Honey, Dextrose, Artificial Flavor, Gelatin, Titanium Dioxide Color, Yellow 6, Yellow 5, Red 3, Blue 1, Sesame Oil.
Mmm... I remember back on the farm when grandma used to pick fresh titanium dioxide for breakfast...
So, if you want to fill up your Owl Treat Bags with homemade treats, here's how you do it:
Ingredients:
Chocolate chips or baking chocolate (don't use chocolate-flavored bark ... it doesn't contain cocoa butter. You can find organic chips at most grocery stores these days.)
Other stuff that you like: cayenne pepper, sea salt, etc.
You can get holiday molds at craft stores like Michael's, and the sticks to make the pops. The sticks are bamboo - hooray for renewable resources. You're also going to need a paint brush. The directions will say to use a special food brush, but you know, I just used a regular kid's paintbrush and it worked fine.
Step 1: Melt the chocolate.

Put your chocolate into a ceramic bowl and put it into the microwave for about 45 seconds (I did half a bag of chips at a time). Stir. It won't be melted yet, so keep melting for about 15 seconds at a time until when you stir it, there are no lumps. If you're going to add spice, you can do it now. I added 1 tsp. of cayenne to the half-bag of chips. It made a pretty kicky pepper experience. You might want to start with a half-teaspoon or less of spice and taste test.
Step 2: Paint
If your mold has any fine details (like the pumpkin's eyes, nose, and mouth), you want to be sure that those are going to show up - you've got to get chocolate into all the little grooves. So take your paint brush, load it up with chocolate, and paint a layer of chocolate into all those little spaces.
 Step 3: Fill
Now, using a small spoon, fill the mold up about half-way. Put the lollipop sticks into the mold and kind of push them down so that they are actually in the chocolate. Then cover them up, fill them all the way to the top.
That's pretty much it - you stick them in the fridge and then carefully remove them once they've hardened. It doesn't take long, just a couple of hours.
No comments:
Post a Comment